Connecting Antigen Plus to a Blood Analyzer
Overview
There are two parts to connecting Antigen Plus to a blood analyzer: physical cabling and software configuration. In nearly all cases, the physical connection uses serial RS-232 DB9 cables, which is what we describe here. Other configurations are also possible. Contact us if your configuration does not match the one described here.
When Antigen Plus is connected to a blood analyzer, it continually monitors the output of the analyzer for antigen screens. These results are stored in the Antigen Plus database, where they can be pulled up from any workstation running Antigen Plus for further analysis.
Supported analyzers
Antigen Plus supports these blood analyzers:
- Galileo, Echo, and Neo from Immucor
- Erytra Eflexis from Grifols
- IH-1000 and Tango from Bio-Rad
- VISION from Ortho
IH-1000, NEO, and VISION analyzers have the advantage that they transmit the lot number as part of their results, so the process of creating an Antigen Plus panel is more automatic. With other analyzers the technologist must manually select the lot number used for testing.
Please contact Antigen Plus if you need support for a blood analyzer not listed.
Physical connection
Identify the connection
In nearly all cases, you will find that your blood analyzer is connected to your LIS using a 9-pin RS-232 serial cable. You need to identify this cable to plan your installation.
If your blood analyzer came with a separate PC, this cable will be connected to the PC. If the PC for your blood analyzer is inside the analyzer cabinet, the cable will be attached to the outside of the cabinet.
In most laboratories, the LIS is in a different room from the blood analyzer. This means that the other end of the serial cable is often connected to a serial/ethernet converter like a Lantronix box, which is then connected to a wall jack.

When you think you have identifed the serial cable, disconnect it briefly from the blood analyzer to examine the plug. You should find that the plug has a plastic center containing 9 small holes in two rows.
If you are unable to identify the serial cable for the blood analyzer, please contact us for assistance.
Purchase additional cabling
You will need these additional items to connect Antigen Plus to the blood analyzer.
-
Antigen Plus workstation
You will need a Windows workstation running Antigen Plus within 50 feet of the blood analyzer. This PC needs either a free 9-pin serial port or a free USB port.
We recommend that you install Antigen Plus directly onto this workstation because our software will need access to the serial port of the workstation. Other Antigen Plus workstations may use an application server, but the workstation that talks to the blood analyzer should have Antigen Plus installed locally.
-
USB to RS-232 adapter (if needed)
If your workstation does not have a free serial port, you will need a USB to RS-232 adapter to provide the required serial port. We recommend purchasing an adapter with status lights for easier troubleshooting, and an FTDI chip for easy driver availability in Windows. One such adapter is the Gearmo USB Serial Adapter, available through Amazon.
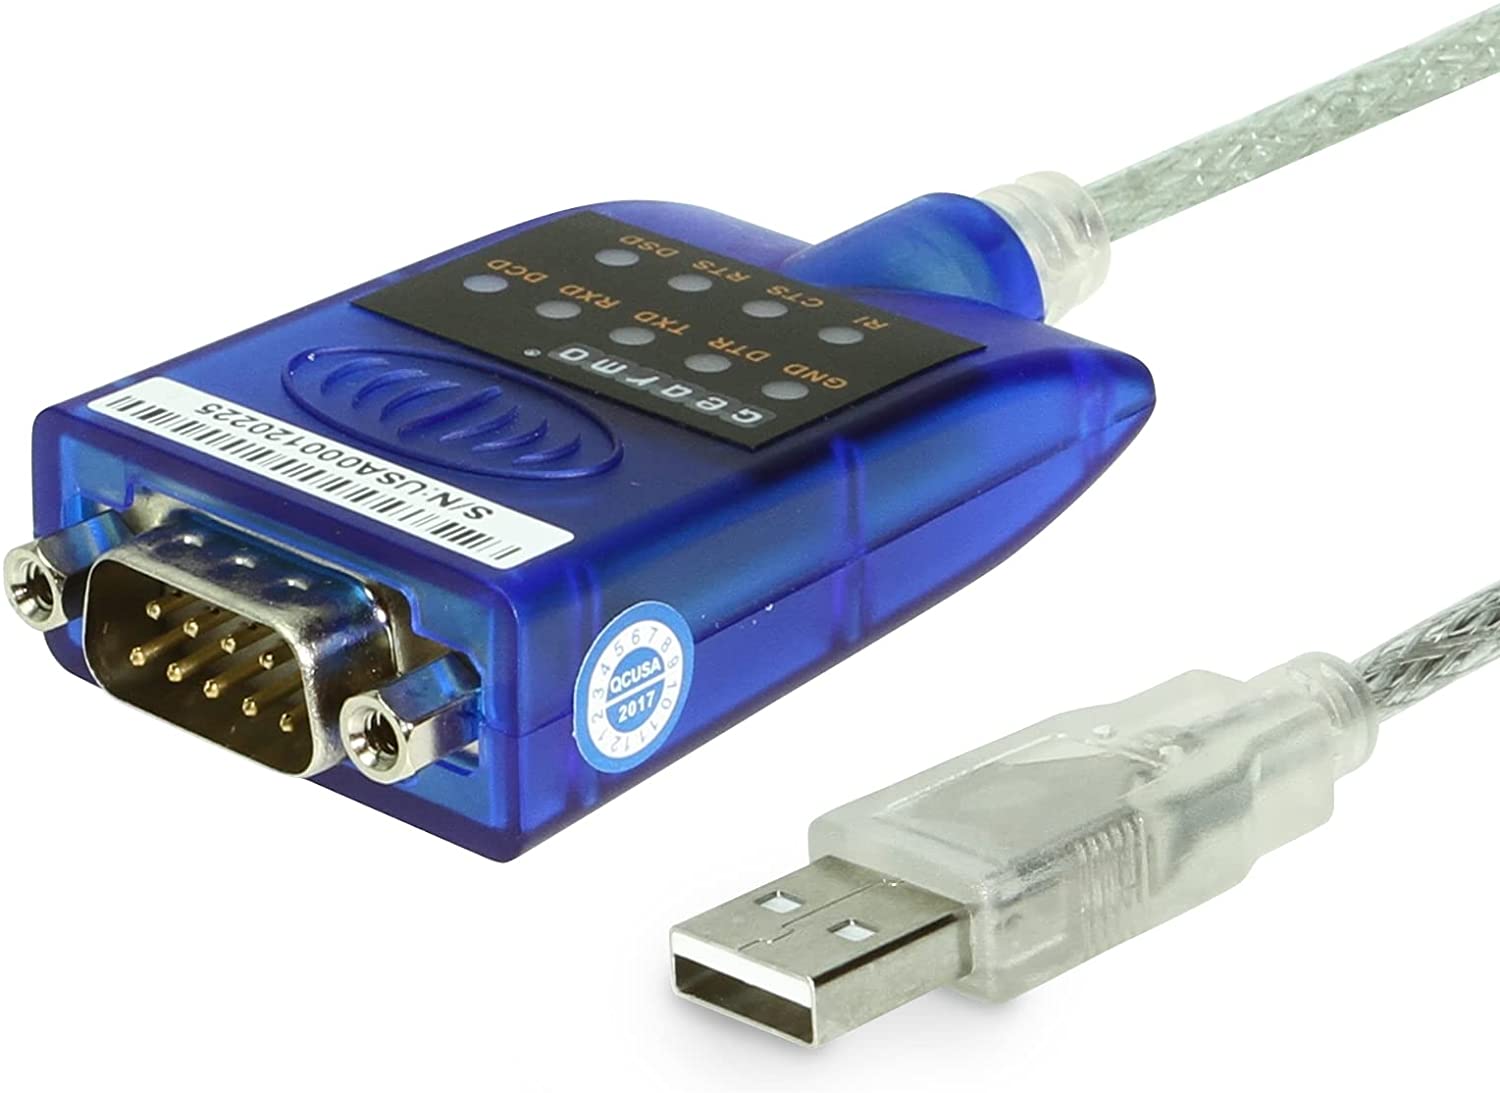
The first time you connect a USB to serial adapter to your workstation, you may be prompted to install drivers for the adapter. These drivers are available from Microsoft, but installing them requires a system administrator. Contact your IT department if you need assistance installing Microsoft’s FTDI driver.
You can tell if the driver is installed successfully by looking in the Device Manager Control Panel on Windows. In the Ports (COM & LPT) section you should see an item named USB Serial Port, followed by the COM port number. For instance, this computer has 4 built-in serial ports and 1 USB to serial adapter named COM5:

Once you have confirmed that the adapter is listed in the Device Manager, you can use it in Antigen Plus just like a built-in serial port.
-
RS-232 breakout tester
It is very important that the transmit signals from the Antigen Plus workstation are disabled so they do not interfere with operation of the LIS. The easiest way to achieve this is to purchase an RS-232 breakout tester that allows you to disable individual signals. A tester like this also has colored status lights that simplify troubleshooting. One such breakout tester is the OONO RS232 Breakout Tester from Amazon.
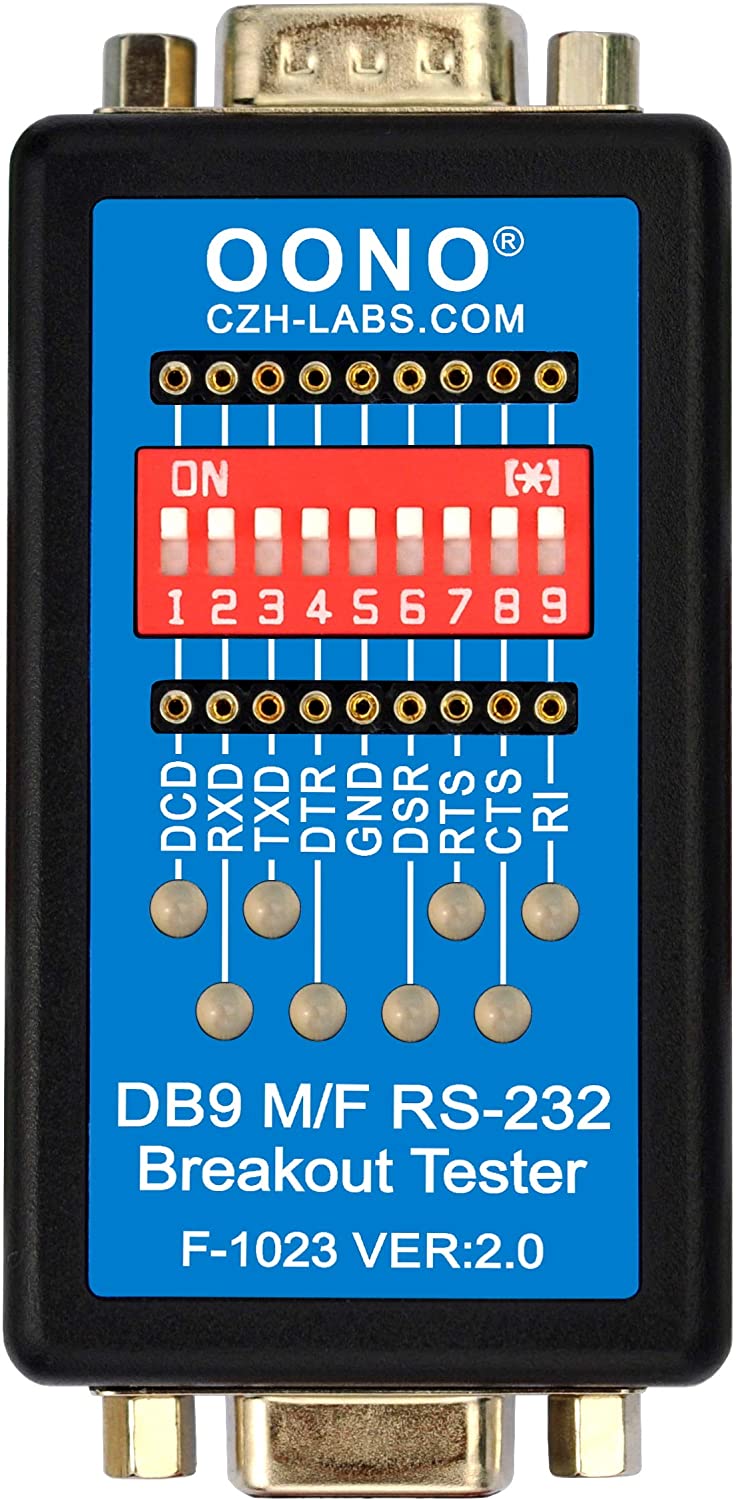
Switches 3, 4, and 7 should be switched to the “off” position to prevent Antigen Plus from interfering with the LIS.
If you cannot find a tester with switches, then you can modify a serial extension cable to serve the same purpose. Remove the marked pins from the serial extension cable and use it in place of the tester.
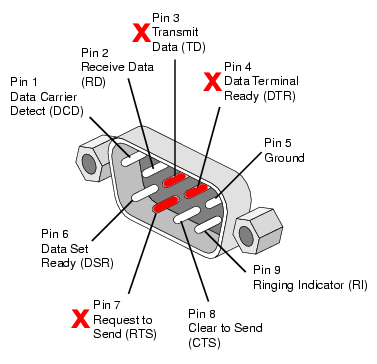
Do not connect a Y-cable to your blood analyzer without disabling these pins! Even if the second connection is not actively transmitting data, the presence of a second serial port on the Y-cable can interfere with communications from the LIS to the blood analyzer!
-
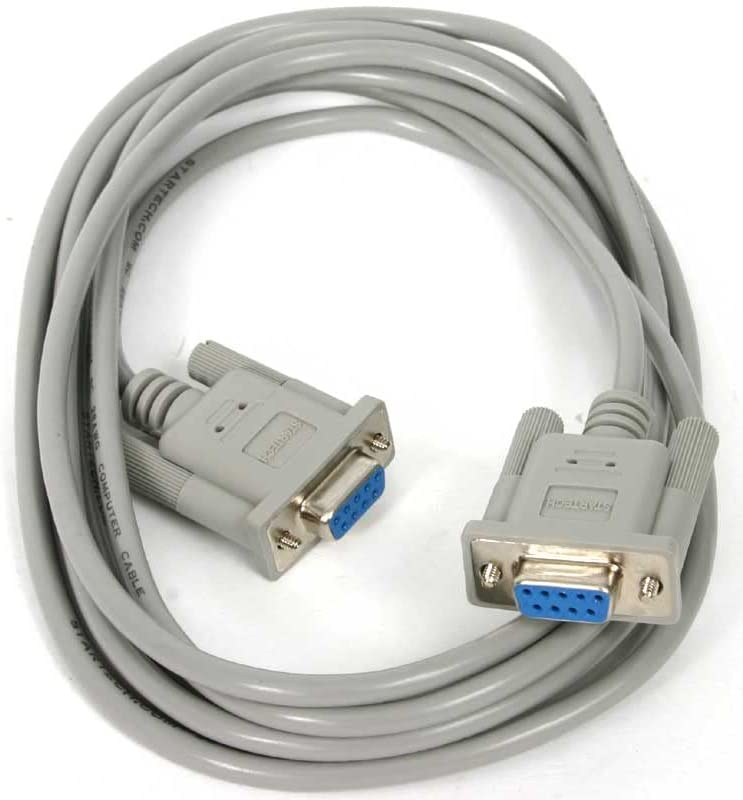
DB9 Female/Female Null modem cable
This is the main cable that will connect the blood analyzer to the Antigen Plus workstation. It should be under 50 feet long, but long enough to span the distance between the two devices. Both ends should have 9-pin female connectors.
These cables are widely available in many different lengths. One example is this StarTech 10’ RS232 Serial Null Modem Cable from Amazon.
-
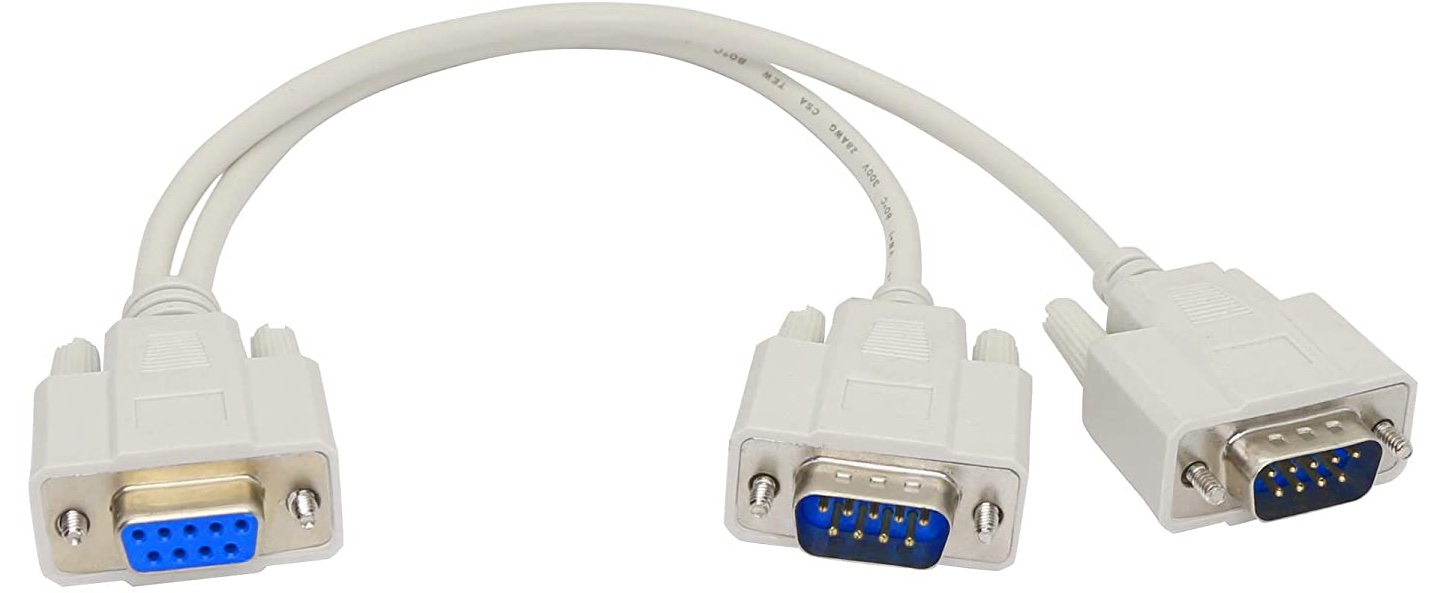
DB9 Splitter cable — 1 Female to 2 Male
This cable connects to the blood analyzer, in between it and the cable that currently goes to your LIS. The old LIS serial cable plugs into one of the male ends of this cable, and the null modem cable above plugs into the other male end.
These cables are widely available, such as this YOUCHENG 30cm DB9 Y Splitter Cable from Amazon.
Make the connections
Once you have obtained the parts, assemble them according to this diagram:

Alternatives
Many alternative configurations are possible, including other serial cable combinations, serial pass-through, and ethernet. Please get in touch if your setup does not match the one described, or if you have trouble obtaining the required parts.
Software Configuration
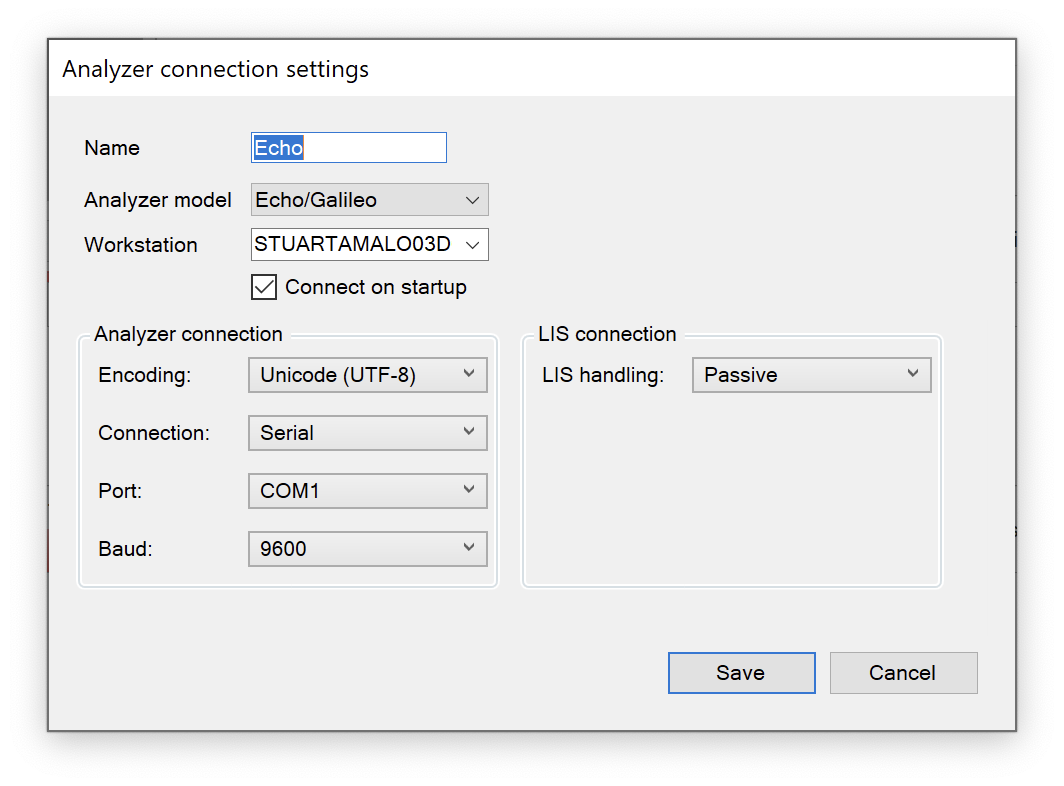
Once physical cabling is complete, you should log into Antigen Plus using an Antigen Plus administrator account and configure the blood analyzer by choosing Analyzer connections… from the Options menu.
-
Click the Add button to add a new analyzer connection.
-
Type a name for your analyzer into the Name field. This can be any name you like to identify the analyzer.
-
Choose the model of analyzer.
-
Leave the Workstation field alone. As long as you are creating the connection from the workstation where the analyzer is connected, this field should be filled in automatically.
-
Make sure the Connect on startup box is checked.
-
Select the Port name for the blood analyzer serial port.
-
Select the Baud rate for your blood analyzer serial port connection. The baud rate should match the baud rate of your LIS system.
-
Set the LIS connection type to Passive.
-
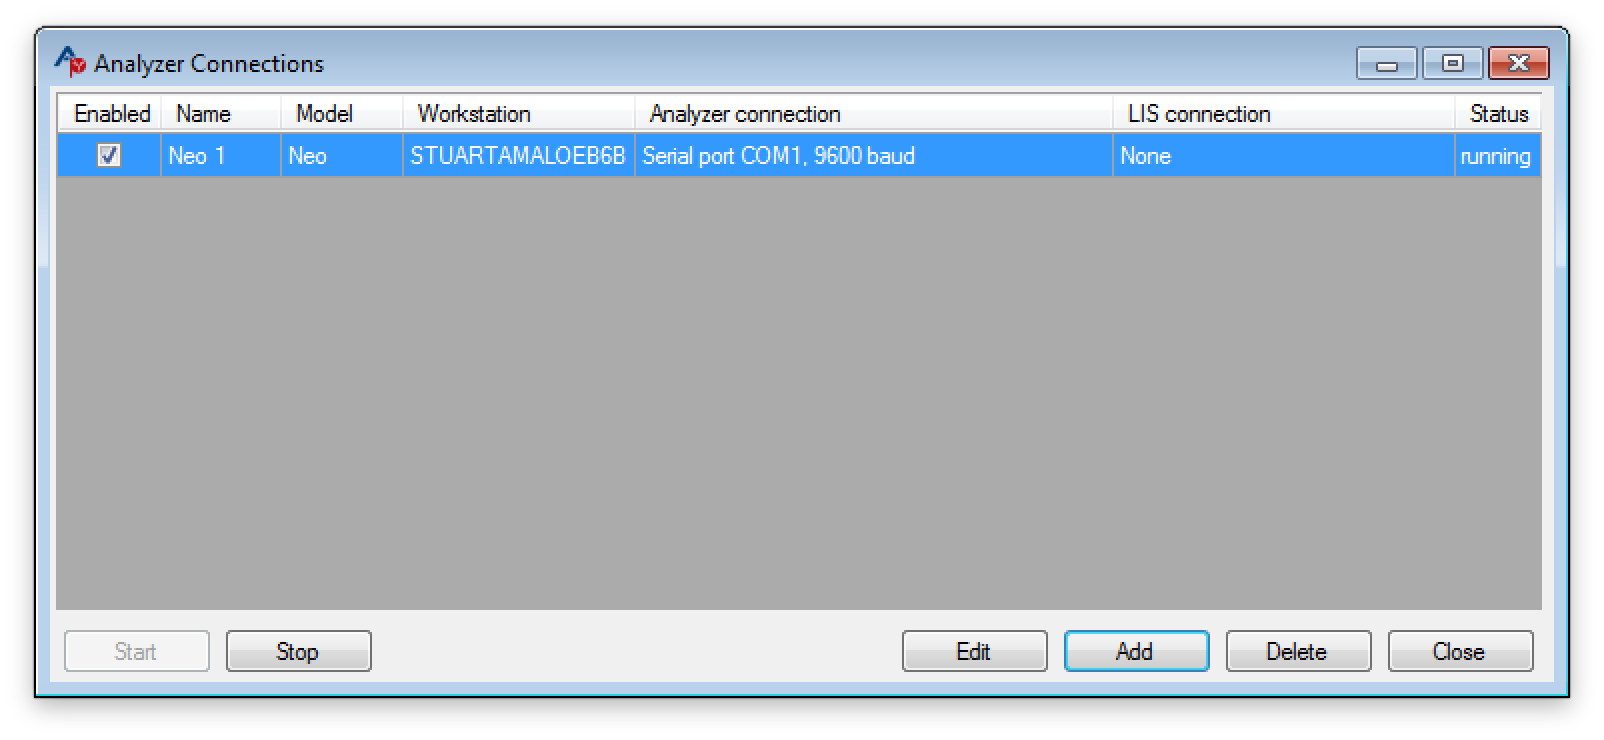
Click Save to save the new connection settings. The new analyzer connection should be listed in the Analyzer connections window and the Status should be running.
-
Close the Analyzer connections window.
Testing
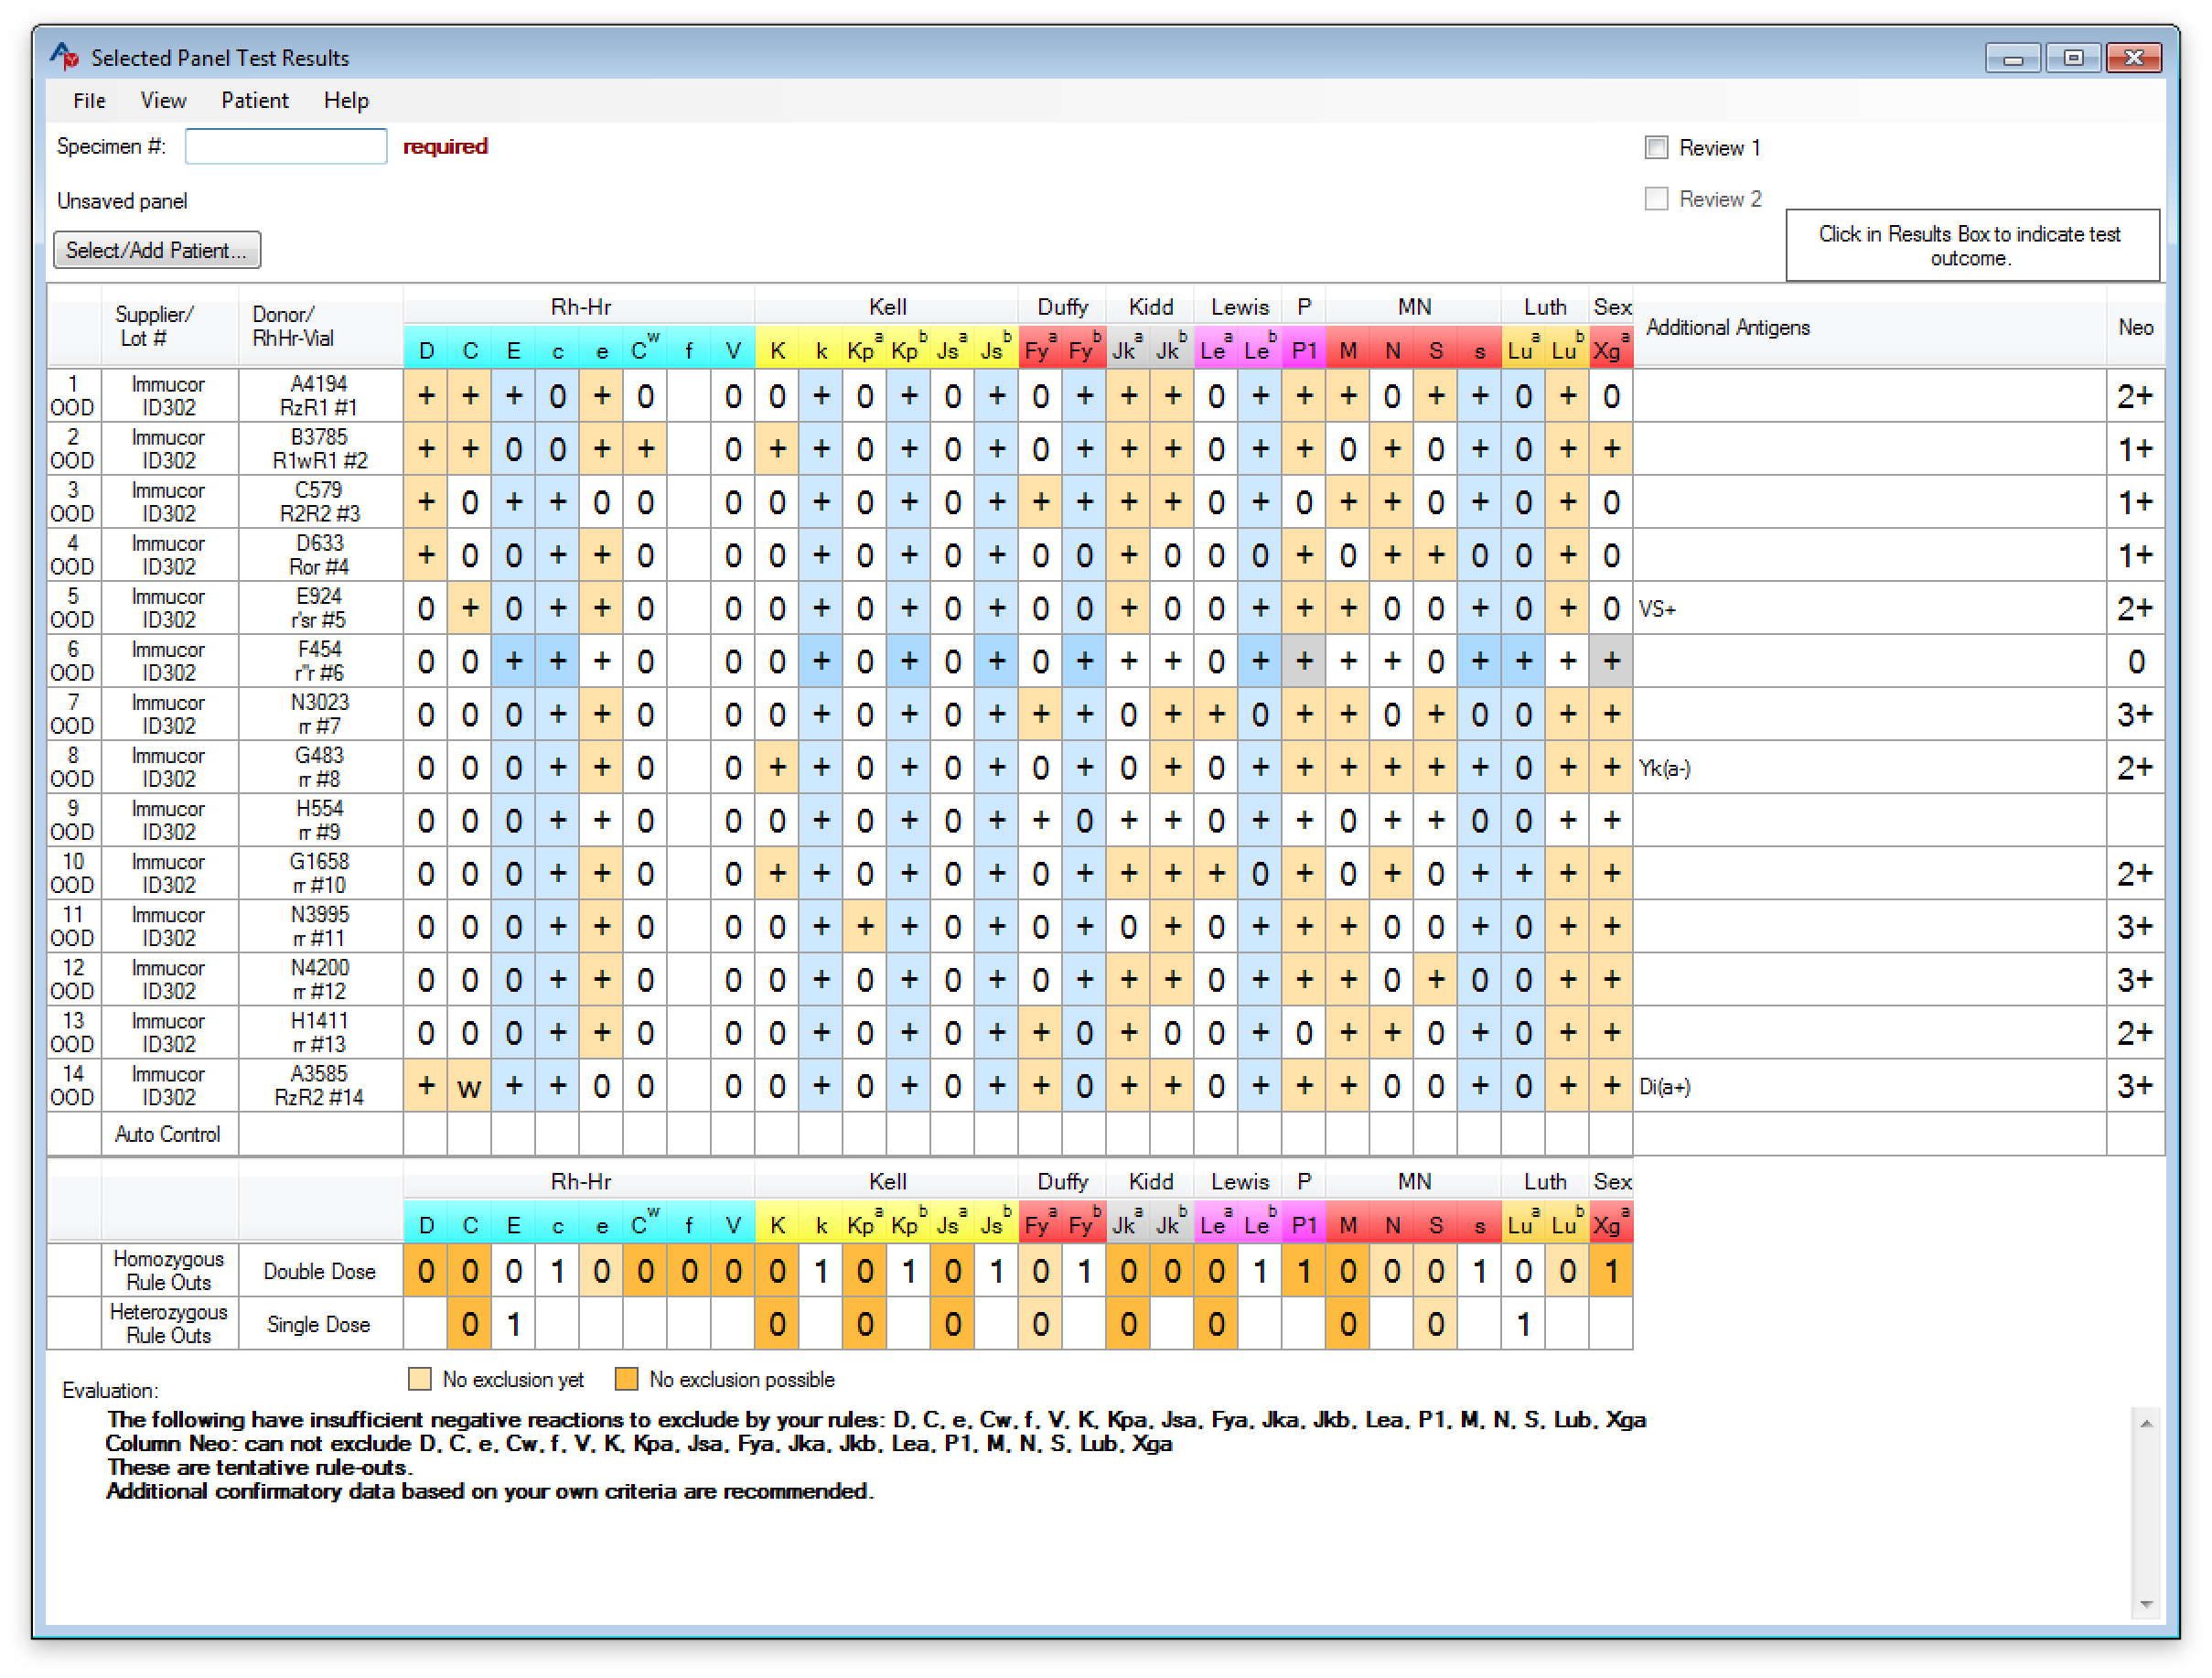
To confirm that the blood analyzer connection is working correctly, perform an antigen screening on the blood analyzer or re-transmit a previous antigen screen from the blood analyzer to the LIS. Once this is done, choose Import analyzer results… from the Panel menu in Antigen Plus. The test results should be listed in the Import analyzer results window.
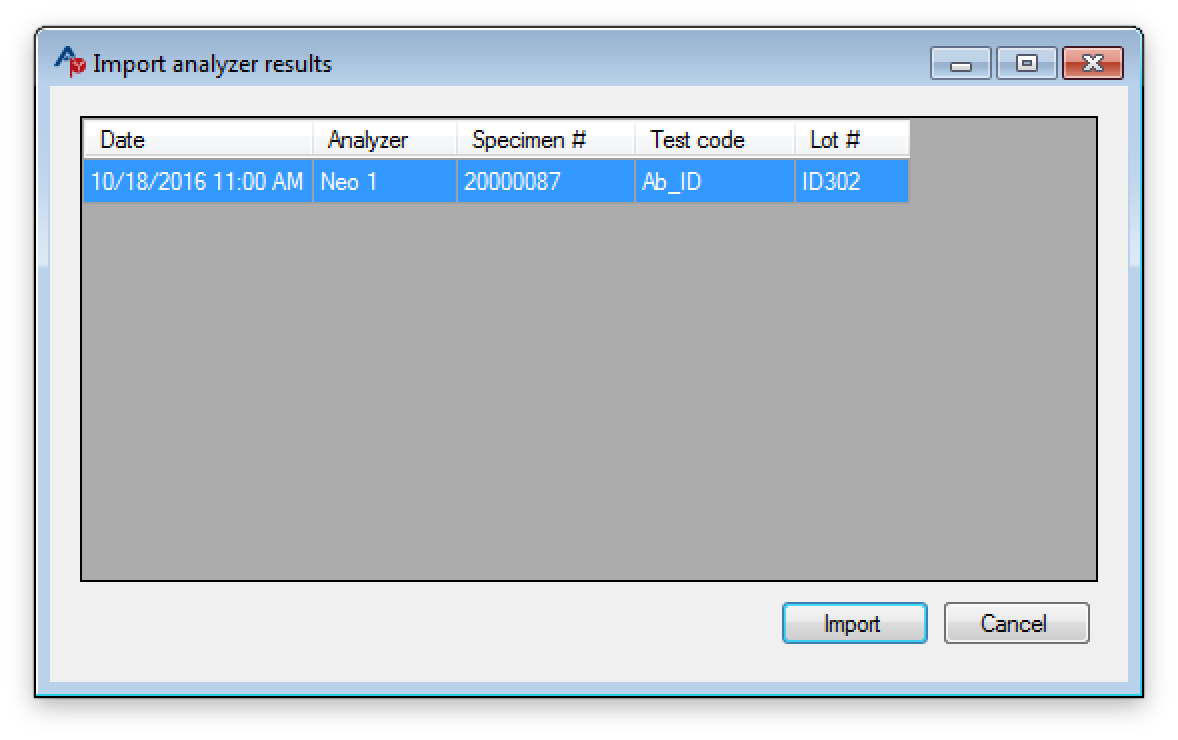
If you have not already done so, download the lot information for the commercial panel. Then import the analyzer results and compare them to the results printed directly from the analyzer and the vendor’s printed worksheet. The imported analyzer results should look something like this: